Wednesday, December 16, 2015

An easy Topiary

I love greenery within the house. I have always kept money plants indoors, wherever we lived.

After moving into our home, last year, I made few attempts to grow money plants indoors. It often wilted due to lack of sunlight and neglect. Finally I had given up on the idea.

When browsing through blogs, I saw the fake topiaries and had an instant liking to the idea. There were some good topiaries in the home decor stores and online. But I found them pricey for the size or quality.

On a recent shopping trip, I found few artificial leaf bunches. They were small leaves and had a color gradient - dark green at the bottom and lighter as it went up. And it wasn't pricey. I bought 3 bunches of it to make my own topiary.

Back home, I decided to use a plastic container I had in the kitchen to hold it. I bought some floral foam, fixed it into the container, and carved a sphere on the top. The leaves were pretty long. So I cut each strand into two - the darker and lighter ones.


In the picture, you can see the bigger and darker leaves to the bottom right. The tender and lighter leaves are to the upper left.

Working with the foam was very easy. I just had to push the stalks in. I started working from the bottom of the sphere. The darkest leaves on the bottom and as I worked upwards, I added the lighter ones. This gave it a natural color tone.


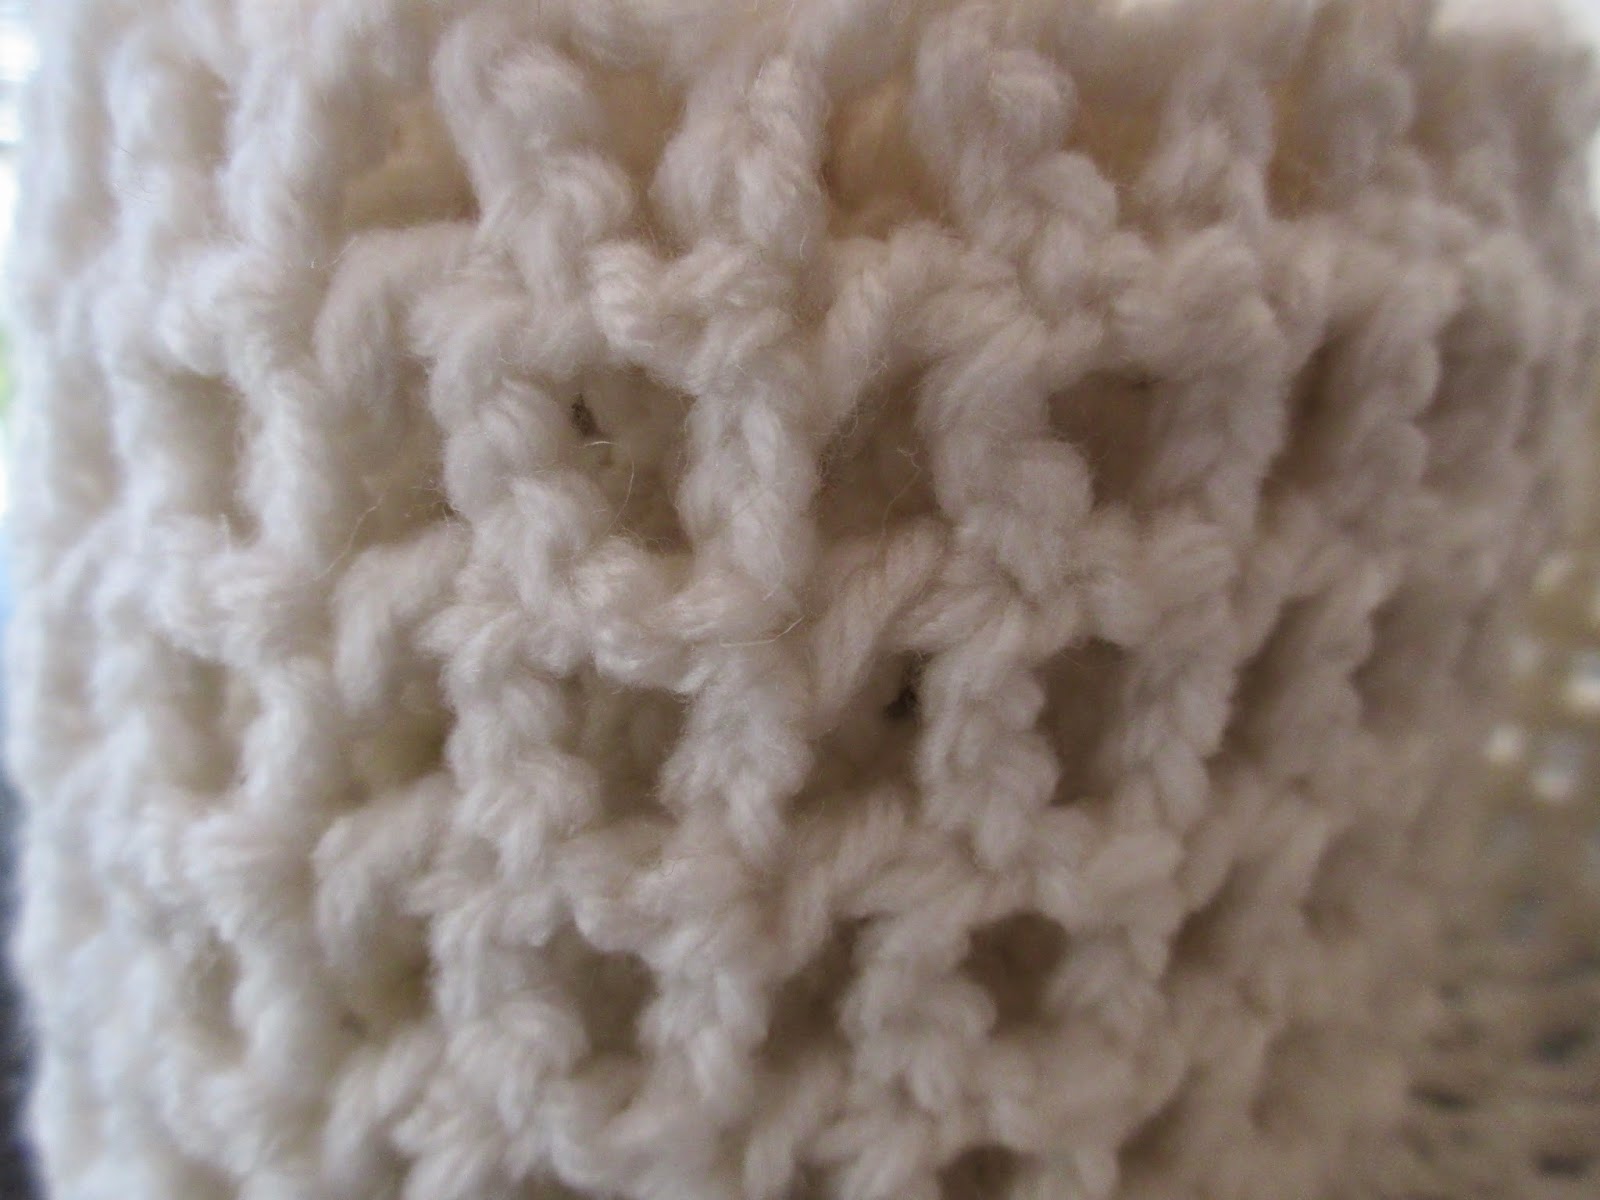
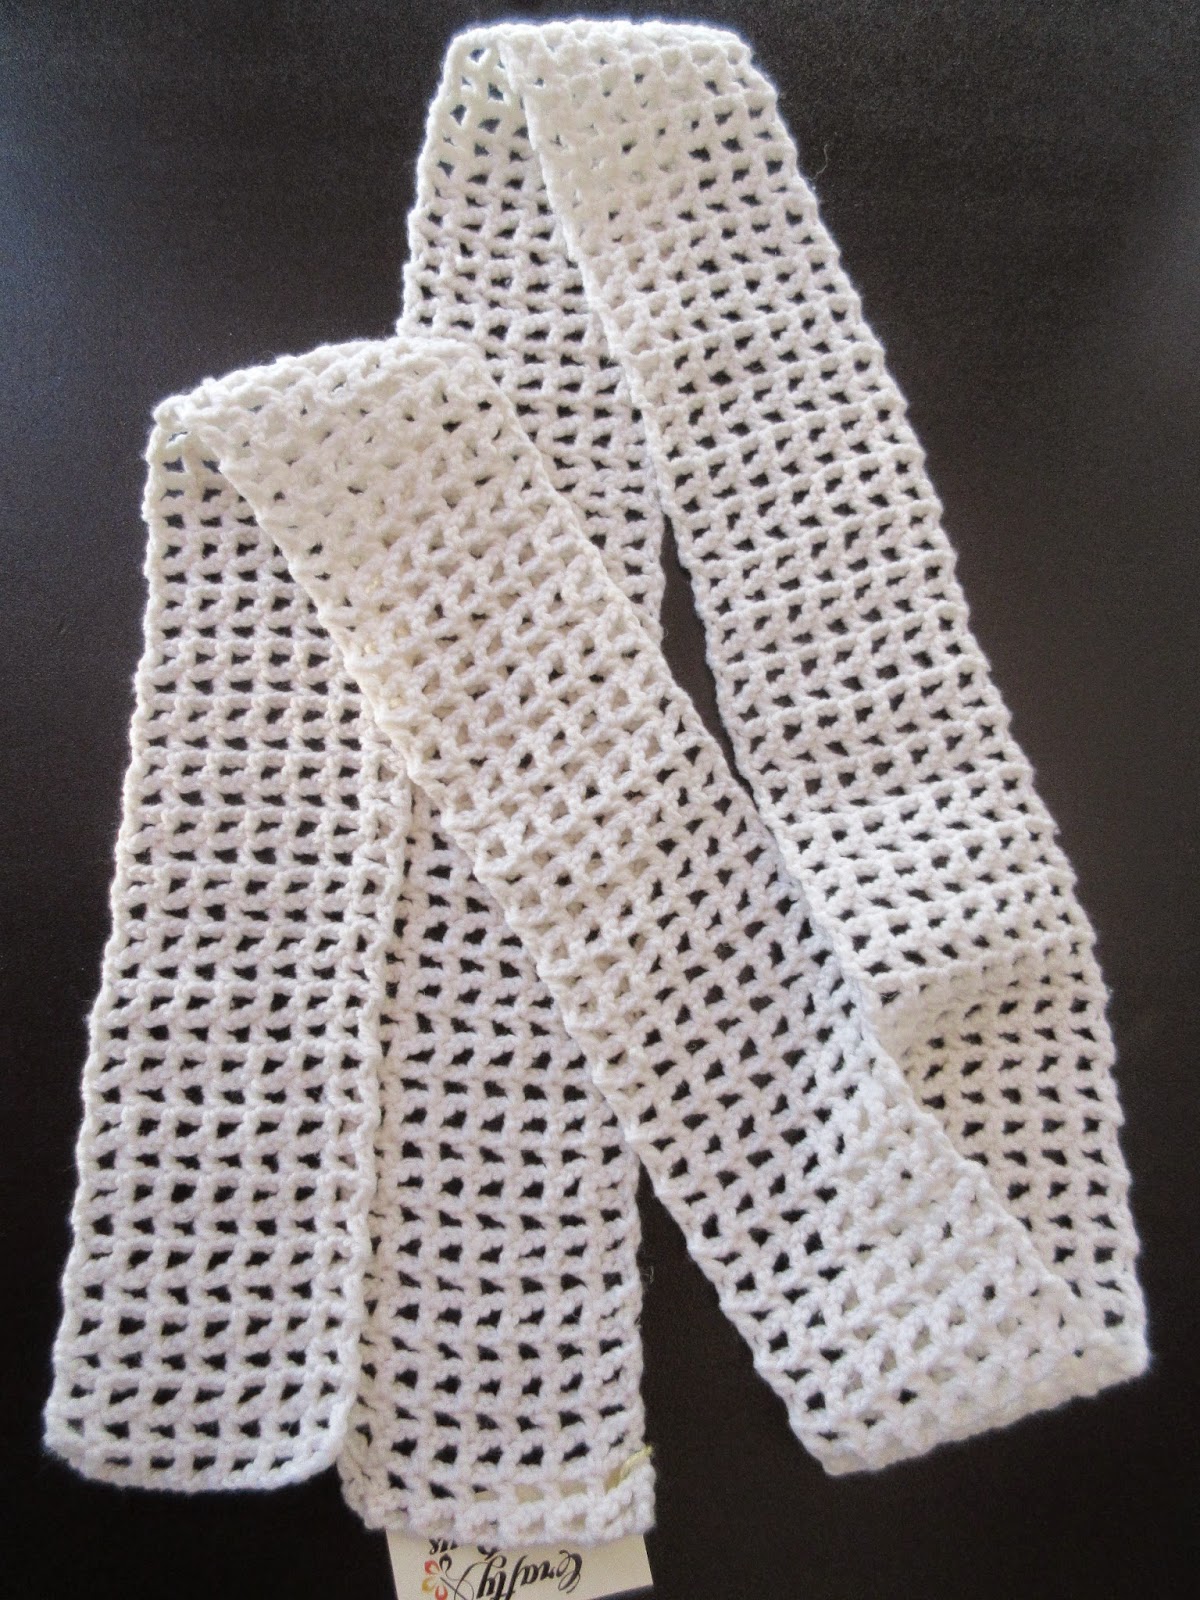
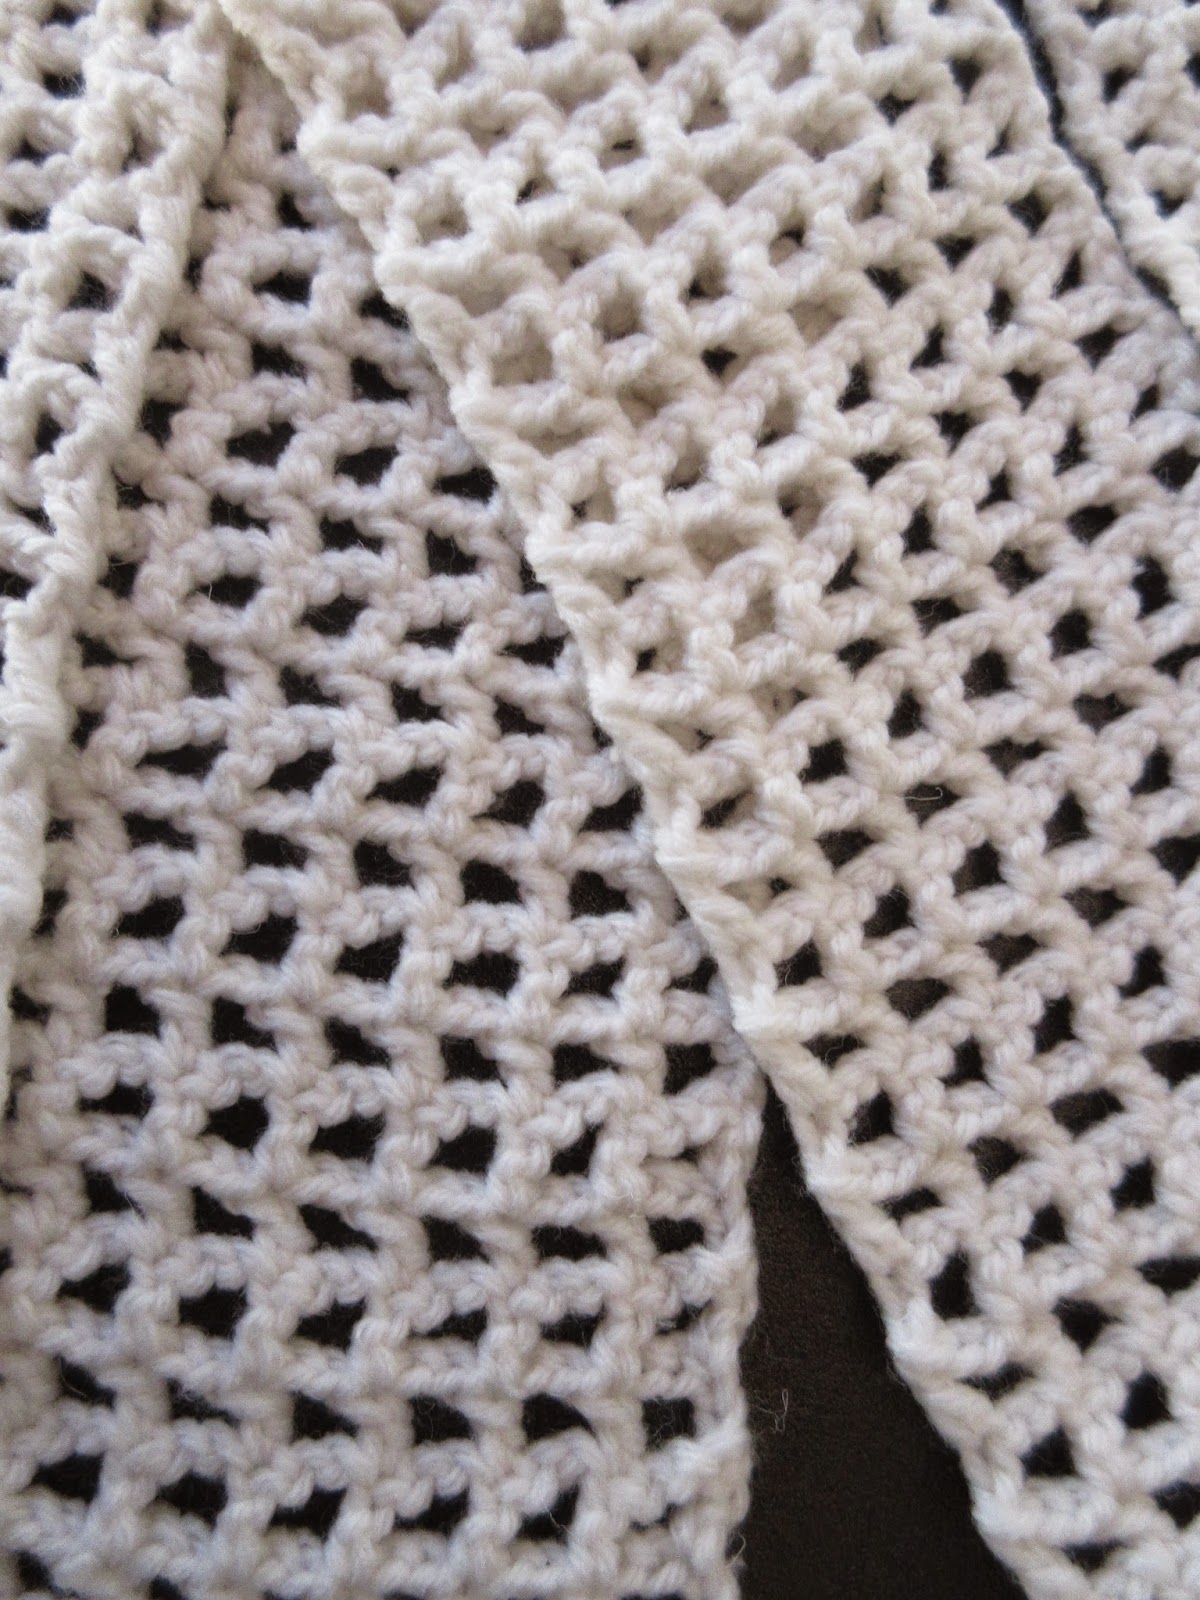
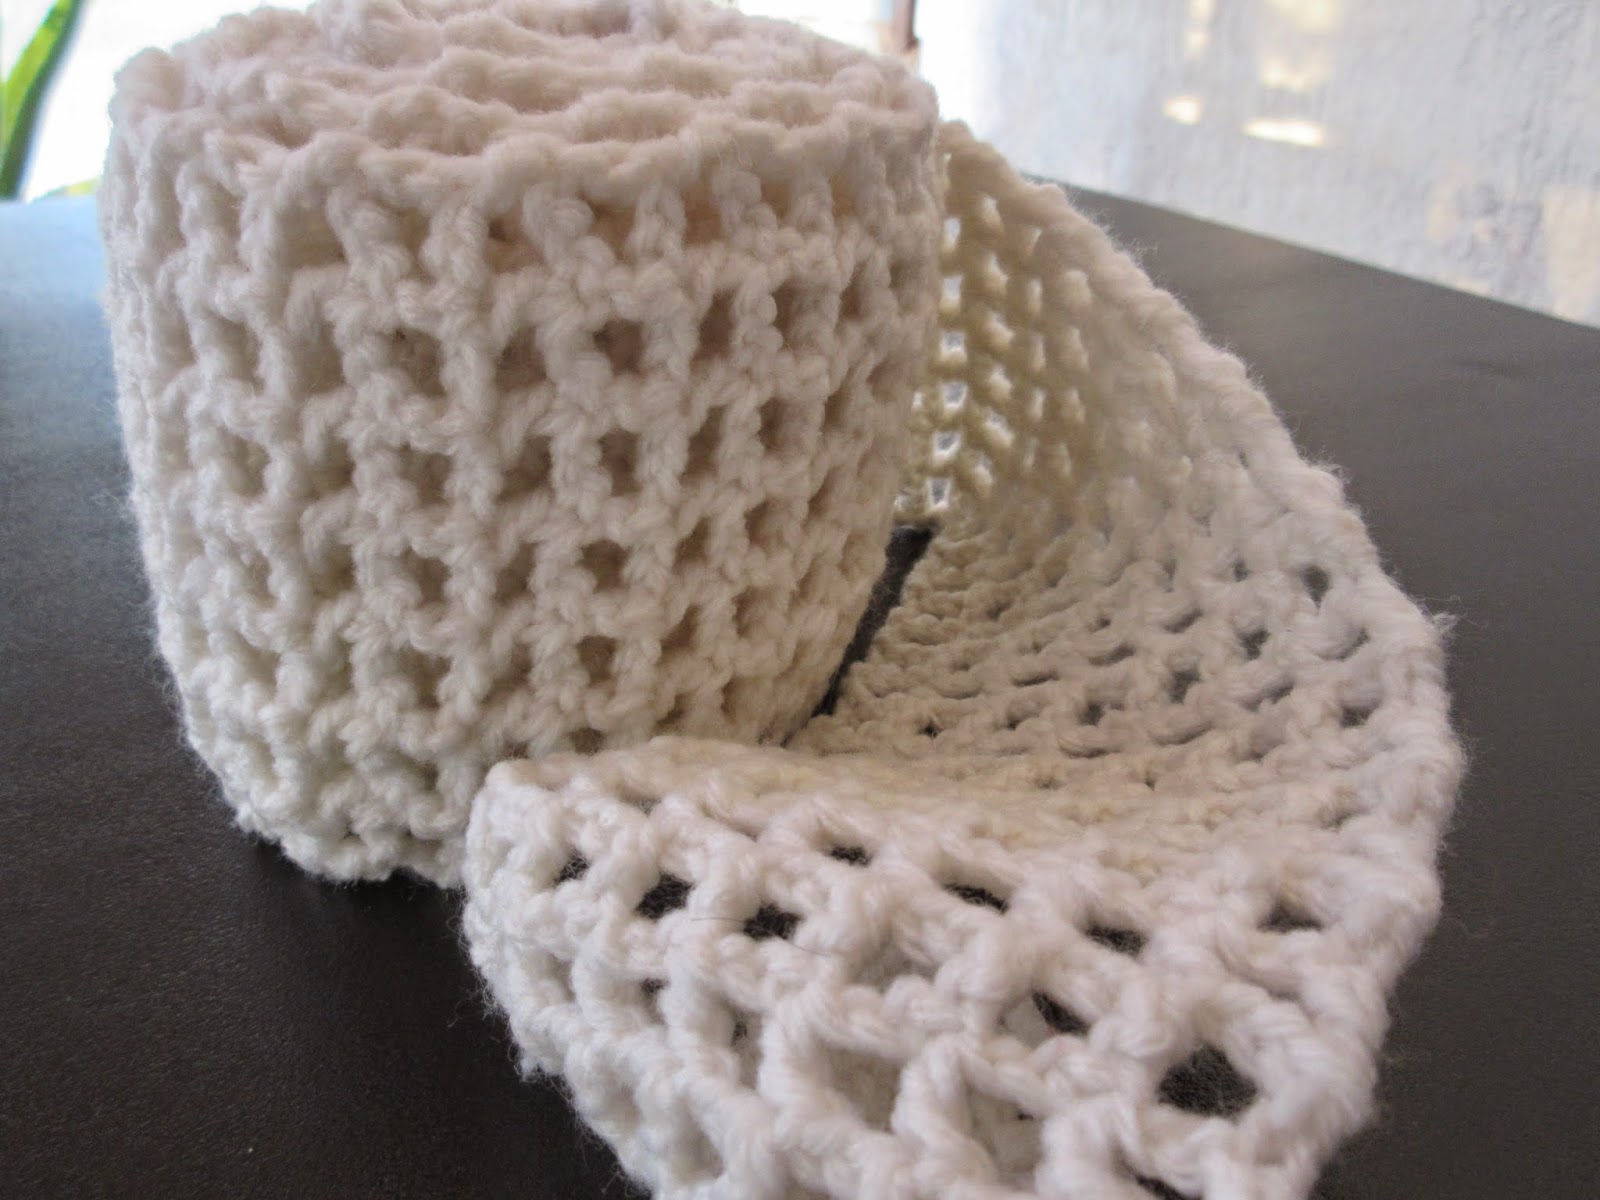
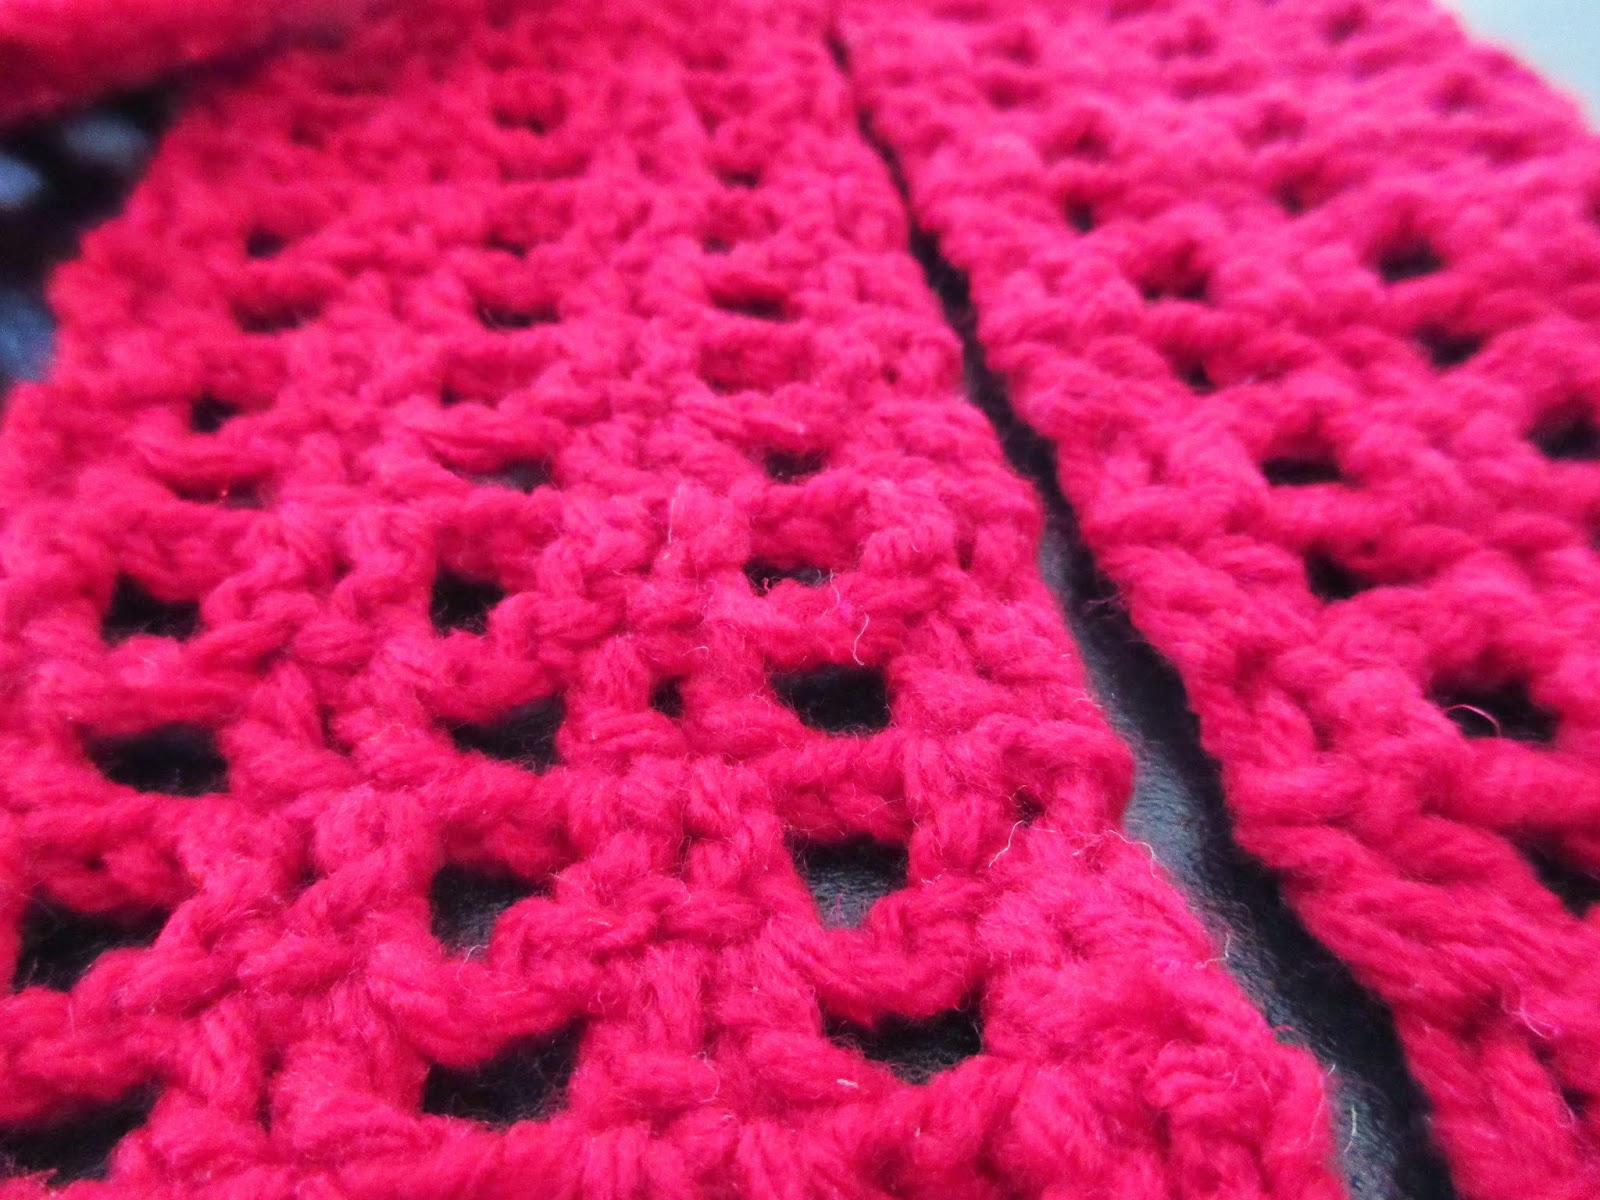
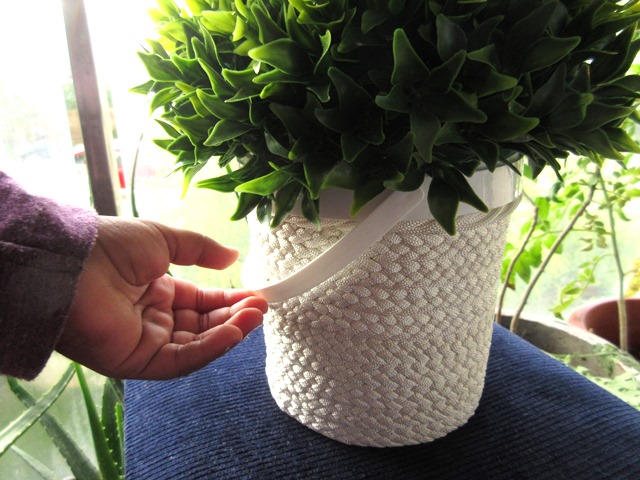
Once the greenery was set, I moved onto prepping the container. There were various options - spray paint, wrap with jute/yarn, cover with fabric, and so on. Finally, I decided to go with a macrame wrapping. I had some white macrame and made a very long 5-strand braid.


You can see three rounds of the braid in the picture.

The container had a glossy surface. I was not sure how to attach the macrame braid to the surface. After few rounds of thinking I figured out that I could use masking tape.

Stuck a layer of masking tape around the container and then I could attach the braids with regular craft glue. Unfortunately, I do not have any pictures of the process.

And it was done.


For the very top row before the braid, I twisted some macrame cords and fixed it.


Check out my lil assistant helping me out with the photo shoot :-)


Tuesday, December 15, 2015

Makeover

Like always, I have been away from the blog for a very long time. Though crafts were happening in the background, I never got around to photographing or updating the posts here.

The last one month was a completely gloomy month (weather-wise) in Bangalore, owing to the Chennai rains and floods. It was always raining, drizzling, and cold. It was really hard to catch a sunny and warm day during those days. Now it is kind of back to normal with sunny, warm days.

Last week I managed to take some pictures in the evening light. So first up today, is an upcycle or makeover.

We have a red stool with metal legs. I do not know the age of it. I have been seeing it since I was a kid. It was bought by my parents when they were in the MiddleEast. When we moved to Bangalore, it came along. For the past few years it was not being used properly and was often neglected. There were some burn marks on the red leather and the metal leg had started to show signs of aging. For the past one year we never used it and it lay in the utility area.


Recently I was asked to give it away while clearing up the utility. But the sentimental side of me was not ready to. I had no clue what to do with it. Still I decided to keep it as it was still sturdy and chic looking.

This picture shows how sad looking it was.


I had a can of bronze spray paint from a previous project and decided to put it to use. I decided to give the stool a makeover.

First task was to find a fabric for the seat. I decided upon a dark/navy blue fabric. I do not have much knowledge on the fabric types but I can tell you that it is a heavy and at the same time breathable fabric. It has been lying around in my stash for the past few years. This is from my mom's collection.


Next task was to dismantle the stool and sand the legs. The legs were showing the signs of age in the form of imperfections formed on the metal surface due to the exposure to all bad weather conditions over the past few years.

Once it was sanded smooth, wiped with a soft damp cloth, and dried, it was time for the painting. We applied two coats and it dried pretty quicky. I was overjoyed with the finish.


Next I cut out the fabric and hand stitched it to the backside of the seat, pulling it taut.

Within very less time the project was completed.


I love how it looks now.


Now it rests by the bedside in the guest room. Happy to have given it a home. 

Thursday, July 30, 2015

Crochet Dress for Barbie

A friend gifted my lil one a Barbie doll for her birthday. Well, I was the one who was more excited than she was! The doll was a pretty one with brown lush hair and lots of accessories. The only thing I did not like about her was her dress. It was way to small for her and kept sliding up her hip always and the upper portion kept falling of her shoulders. And needless to say, the dress was gone in few days time.

The poor thing lay naked in the toy basket. Every time I saw it, I felt pity. Finally, it occurred to me that I should make a small dress for her. Well, I wished and it was done.

It would not have taken one hour to make. It was super easy, fast, and cute. Here it is.


And how can you not show off her curves.


Well, now she looks very neat and cute. No more embarrassment.


I have used single, double, and treble crochet stitches for the dress. It is loosely based on the Lacy Crochet Dress I made for my daughter last year.


It was a quick, easy, and cute project.

Play Tent

Being a kid I loved play tents. I never had one officially but we did make temporary ones to play. When my daughter started growing up and playing by self I wanted to create one for her. I really wanted to satisfy my craving for a cute tent. 

So the first one was built even before she was a year old. Though she did not understand the concept, she kind of used it to play peek-a-boo or at times just hide from us. I never posted it here. It was build by a window and was very tall with small shiny things hung in it to keep her entertained. This was built in the house where we stayed before moving into our own. 

After moving into our house, I started browsing for tent options. I did not want a permanent one. Not too big. I should be able to keep an eye on her from the kitchen. And so on were my conditions. I was pretty impressed with the PVC pipe tent ideas on Pinterest. I really wanted to do one. We even went and checked the pipes. But we had after thoughts and dropped the idea.


Finally, two weeks back I figured out an easy and temporary solution for the Play Tent. We have put the sofa in the living room as an L-shape and the back of the two seater faces the kitchen. I decided that the tent should be built at the back of the sofa so that I can keep a watch on her when I am in the kitchen and it would not be visible from the entry to the house as well.


And it was done!


Can you make out what it is? No? Okay, let's see the details. It is semi-circular and big enough for my lil one to sleep with her doll in it (which she often does) :-)


This is the framework. Very simple!

I removed the flexible bars of her play gym and secured it to the back of the sofa in a semi-circle. Before securing it, I slid two PVC T-connectors into it. The connector was hubby's idea.

Into the T-connector I fixed two PVC pipes (painted it white too). 

Then I cut out the shape similar to the top portion of the tent, from an old foam bed. Sewed up a cheerful cover for it.


Sewed in two cords to the foam and secured the pipes in position.


See, it stays in place and does not slide of.

Draped a lovely, see-through cloth over the frame. 


And my (her) tent was ready!


The best part about it is that it is very easy to be taken apart and rebuilt everyday. Just take out the pipes from the connector along with the foam. The top portion falls flat to the back of the sofa. So simple. To build it back, I just need to put the pipe ends in the connectors. 

Thursday, July 23, 2015

Pretty Gardening

I have been away for a really long while. There was nothing crafty happening all these days. It was not like I did not want to do anything crafty but I never found that crafty-time. I was mostly drained out and lacked the enthusiasm to pick up my hook and yarn. There was always a list of TO-DO tasks in front of me and I felt guilty if I even thought about indulging in some craftiness to satisfy my creative needs.

However, I realized that my tasks will always be there whether I craft or not. 


My balcony has some pots and plants. I do not spend much time with my plants now. But how much ever time I spent tending them, I did not like those brown plastic pots, all kept in row. Provided that my balcony is not too wide, I do not have any other options than the pots. So I decided that I'll add some colors to it. 


See how it looked before. 


This was a difficult task than I expected it to be. I had to apply two coats of paint as the pots are plastic and I bought enamel paints for a glossy finish. And when I started the project, the weather was not too great. It took longer to dry. 


Another challenge was placing the pots to dry. I could not keep it close to the balcony glass and also had to keep constant watch on my toddler whenever entry to the balcony was open. There were lot of challenges - the mess, the cleanup, time, weather, space constraint, weight of the pots with the plants to move it around, and so on. 


See an in progress picture.


This is how my balcony looked like on many early weekend mornings.


I was never able to paint more than one or two pots in a sitting. So the project did actually span over some time. And till it was completed, the balcony was kind of non-functional. Each time I painted a pot, I had to clean up the brushes, throw away the newspaper sheets used, and have everything shoved out of reached before the little hands touched them. I had to get up early on weekends to get an hour or so to paint. Sometimes I used to paint these pots at midnight after putting my little one to bed. 


And finally I achieved it. 


You can see the drip marks on the wooden plank placed beneath the pots. That is another thing on my TO-DO list! Phew!


As you see, I tried using two shades for most of the pots. It was again time consuming. I had to put tapes at the dividing area. Paint one portion. Wait for it to dry. Apply one more coat. Again wait for it to dry. Remove the tape and paint the second portion. Wait for it to dry and apply second coat. That was when one pot could be called complete. It was tedious.  


Some are in single random shades.


I experimented mixing the colors to create shades. Some turned out way too awful and I had to throw it away.  

But I loved the result. My colors may not be too bright or great. But now my balcony is definitely prettier than it was. 


I am just imagining bright orange marigolds and roses in full bloom in the colorful pots on my balcony. I may have to wait little longer for that. 


Will I take up these projects again? Yes, I definitely would. For the love of colors and now I have learned few things from my mistakes :-)

Friday, February 13, 2015

Crochet Even-Eyelet Scarf

I finally managed to write a pattern for the white scarf. I named it as Even-Eyelet Scarf. Reason being that it is worked as eyelets placed evenly throughout the scarf.

It is a quick and easy pattern. Once you get the flow, you can just whip it up fast, probably in an evening and wear it the next day!

The best part is that you can easily customize the length and width of it. It is airy and best suited for mildly cool weather. You can use a chunkier yarn and create a chunkier scarf.

You can find the pattern in my Etsy, Ravelry, and Craftsy pattern stores.

Some more pics.


Happy Weekend!

Thursday, February 12, 2015

Scarves

Scarves are perhaps the easiest and quickest items to crochet. An absolute stash buster project. You can try varying colors and different stitches. And almost everything turns nice and pretty as a scarf.

I have been making some scarves and also had a few which I had made quite some time back.

Weaved in all the ends and gathered everything for some photo shoot :-)

First one has the color combination as the one I used for the Mini Green Blanket.


Some yarn ends are left hanging at one end and it looks like a fringe.

Next is a white cotton scarf. I somehow am totally in love with this one. It is super long and lovely to touch.


A red one. This is not as wide as the white one but definitely long enough.


And finally one in variegated yarn.  


Thursday, February 5, 2015

Decorating

Last week, it was our little Angel's second birthday. We decided to host a small get together at home. There were few infants on the guest list and we wanted all the toddlers, infants, and Moms to be comfortable. We had around 25 people and prepping the house for the event really kept me on my toes for quite few weeks. Finally, there was a chance to unpack any unopened boxes, organize entire wardrobe, give away or sell-off no more used items, and make our home tidier. Once everything was in place, we thought of few decorations to be done.

It was minimalistic but this is what we did:

- Settled on for shades of blue and lighter complementing tones.
- Created a big '2' from metallic blue-shaded balloons.
- Ribbon backdrop for the cake cutting.
- Tissue paper pom-poms hanging from the ceiling.
- Line of pom poms on a wall.
- Considerable amount of balloons all over the floor.

Now some snaps.


The pics are little blurred as I cropped them out from the whole to show just the decor. If possible I may upload a few more good pics.

Now look at this doily table spread. It is a lovely spread, handed over to me by my Mom. And this was the perfect occasion to use it.